Most of the time, I can trick myself into thinking my backlog isn't all that bad because there are only four or five things that I've actively been working on within recent memory, forming the top layer of clutter in my sewing room. I've been pretty good about following my "finish two projects for every one you start" rule, so the front of my brain thinks that I'm doing okay. Managing my addiction. But somewhere in the back of my mind, I know that's a lie.
Every once in a great while, I'll go through aaaaaallll of my unfinished projects, one by one, and find things I'd completely forgotten. This is one of those things.
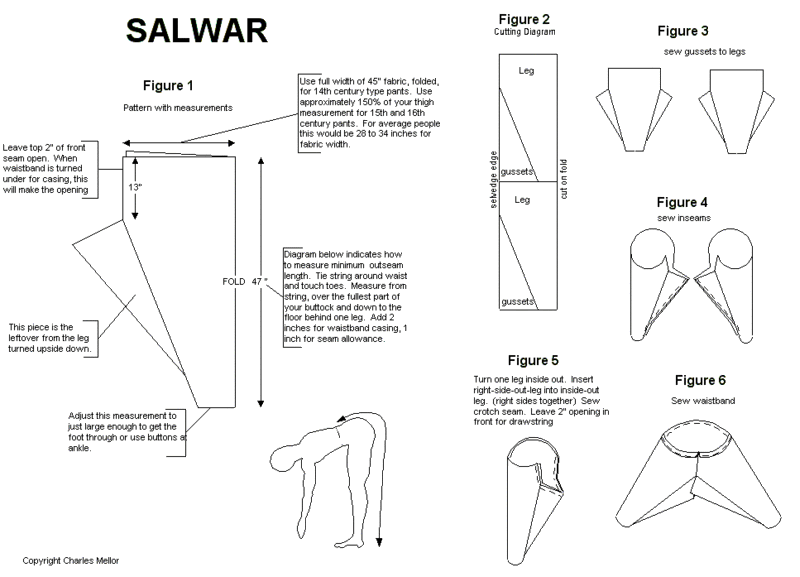
Once upon a time, so long ago I don't even remember when, I set out to make a pair of baggy harem pants.
Harem pants are not exactly difficult to make. The style that I was making back then (before I learned that there were even simpler and more efficient ways of making them) was basically a couple of rectangles with a bite taken out of the top two corners. There's a seam up the inside of each leg, one seam around the crotch, and a drawstring or elastic casing around each ankle and around the waist. Easy, right?
And yet somehow, I got as far as cutting out the pieces, overlocking the edges(!), and sewing up the leg seam... and then stopped.
I don't really remember why I stopped working on them. All I know is that these proto-harem-pants stayed in project purgatory for so long that by the time I excavated them, I had gained enough weight that they could no longer be considered "baggy" by any stretch of the imagination. I spent another few years occasionally staring at them, wondering if it was worth trying to piece them with some other coordinating fabric in order to salvage them... Except that the fabric had a very subtly crinkly, crepe-like texture that made it very difficult to match.
And so they languished.

The fabric embargo was most definitely in place by then, so I went rummaging through my stash to look for something appropriate, but nothing really appealed to me. So with a sigh of resignation, I mentally filed that idea under "for after I use up my stash", and looked for an unfinished project to work on instead.
At which point, I saw the harem pants, and realized that I was staring at two big rectangles of perfectly good lightweight black cotton (with a big bite taken out of each of the top corners). I squinted at them for a while, and decided that I might just be able to squeeze a blouse out of them.
So I drafted a simple pattern for a shirt with short "kimono" sleeves, a long, loose-fitting body, and horizontal bust darts. I decided to make the blouse with a lace border around a square neckline and around the hem of the sleeves, connected by a line of lace running over the top of the shoulder. I combed Ravelry for an insertion lace pattern that could be adapted to turn 90 degrees and meet in a T shape without too much trouble. I eventually settled on a stripped-down version of this one.
 |
| The modified lace pattern, at the corner of the neckline. |
I made a large square for the neckline, then joined a new piece of thread and made a strips coming out from the right and left sides of the square (to run down the top of the shoulder). Once each strip was as long as I wanted the sleeves to be, I turned 90 degrees and made another strip as long as the circumference of the sleeve opening, and then joined it so that the whole thing made a loop with a T-junction where it joins the over-the-shoulder bit. Once I had all of the pieces joined together, I crocheted a border around the whole thing, consisting of a solid round of dc. At the points of the flowers, I made 1ch, sl st, 1ch into the 7ch/quadruple crochet space so that they would stick out as points. I made another round of solid hdc to give the points some additional structural support, and then a round of 1dc, ch 1, skip 1, dc in next hdc to give it a somewhat lighter border.

Except that it didn't quite happen as smoothly as that makes it seem. I got all the way around the square for the neckline and had just started working on the inside border when I ran out of thread. I rummaged in my stash and found another ball of black crochet cotton and picked up where I left off, and promptly realized that it was a totally different brand/quality/dye lot, but at the time I couldn't find a UK retailer for the brand I'd used before. (Oh, how I used to take Michael's and JoAnn's Fabrics for granted!)
So I carried on with what I had. And ran out of thread again. This time, there was absolutely no more black size 10 crochet cotton left in my stash, so I bit the bullet and bought myself a few balls of Anchor brand thread in the same size, for what I considered to be a small fortune. I'm used to paying not more than $3.50 for 350 yards, not £4 for 119 yards! To be fair, the Anchor brand stuff was much more shiny and less fuzzy than the DMC/Aunt Lydia's/Red Heart stuff I'd been using, but it's also much thinner and works up at a slightly smaller gauge. Hrmph.
The whole thing is a bit of a Frankenstein's monster, but I eventually finished it. With three different dye lots from three different manufacturers, the lace might get a bit colorful as it washes and fades, but when that happens, I can always just open up a package of Dylon and overdye it back to its original inky hue.
To attach the lace to the shirt, I stitched the darts, side seams, and shoulder seams of the shirt, felling the side seams (the shoulder seam will be cut away, so it doesn't matter). I pinned the lace insertion into place where I wanted it to rest, and stitched the outer edges down by hand with a whip stitch. I then trimmed the shirt fabric away to a 3/8" to 1/2" seam allowance all around the whip stitching, folded it back, tucked the raw edges underneath, and whip-stitched the seam allowance down as invisibly as I could. Outer corners were trimmed and then mitered, inner corners were clipped, and I made a few extra whip stitches over the raw edges to prevent fraying. The bottom edge of the shirt was finished with a narrow rolled hem.
The original vintage pattern included a drawstring around the waist, but by this time I was getting a bit sick of this project, so I decided to take the much simpler route of crocheting a simple belt to go with it. I wanted something with a little bit of a pattern, but the only reasonably durable yarn that I had in my stash was some rather chunky Lion Cotton, so anything too detailed would just get lost. This pattern ended up being a fairly happy medium.
I started by making a round of sc around a metal ring from a hardware shop (making sure to crochet over the tail end so that I wouldn't have to weave it in later). I then treated the sc stitches around the ring as my foundation row.
 |
| Better photo as natural lighting becomes available. |
Once the belt was as long as I wanted it, I did an extra row of: turn, sl st into first dc, sc into next 2 dc, 3 sc in 2ch space, sc in next 2 dc, sl st into next 2 dc, cut yarn and weave in end.
The ch/dc sides of the belt are a bit flimsy and would probably benefit from a round of sc, but if I did that, it wouldn't fit through the ring anymore, so I'll just have to live with it. On the whole, I think it looks quite good, and it only took a few hours to make, even with my rather generous waistline.
Hooray for expanding my work wardrobe!
No comments:
Post a Comment